Showing posts with label Healthy Meal. Show all posts

Friday, May 22, 2015

A Little Catch Up, Some Inspiration and A New Recipe: Sesame Cashew Chicken with Curried Cauliflower Soup and Raita


Green Girl Goodies LLC, May 2015

After a year of no posting, I find it quite ironic that I am posting another Indian-inspired recipe!  It has been a long hiatus but I hope that this time I am truly able to stay up with my weekly recipe sharing.

I just wrapped up an amazing cleanse called “The Ultimate Reset” by Team Beachbody.  The reset is a 21 day program with supplements, a full recipe guide and coach support and it really lived up to all it promised.  The program helped me gain energy and motivation, not only to stick to a more healthy diet, but also to take charge in my life and to truly pursue my dreams!  In the 21 days I was using the program I turned Green Girl Goodies into Green Girl Goodies LLC.  I have my business banking set-up, am working on the final business licenses, and already have a few private classes lined up!  In addition to my blogging, I now offer private/group cooking classes as well as private chef services in and around the Seattle Area.  I hope to one day take the company to the next level and also offer meal delivery service, making it easier for others to enjoy my healthy meals, even if they don’t have time to cook!

I am so thankful for what the reset program did for me that I decided to join the Beachbody team.  I am now a coach for Team Beachbody so I can share the inspiration and motivation my coach shared with me with others looking for a change in their life.  My new business package should arrive any day and I’m thrilled and proud to say I will not only own my own company, but I will also be starting another small business on the side, all while working a full time job (and maybe a part time summer job soon), posting all my healthy, home cooked meals on I.G. and FB and keeping up with my daily yoga and exercise routine.  It feels great to be busy and I’m more motivated than ever to take the blog and my career to the next level.

I have simplified things a little with my posted recipes and will be posting less pictures than I did in the past.  Also, for you Seattle area residents, coming soon I will have pricing for some of my basic private/group cooking classes on the blog as well!

Enjoy this delicious meal and for those of you waiting for the last promised recipe, Greek “Fu-ttata”, don’t worry, I will get it up here soon.

Live Well and Happy Eating!
Jess, The Green Girl and Manager of:
Green Girl Goodies LLC

Sesame Cashew Chicken with Curried Cauliflower Soup and Raita


For the Chicken:
Yield 2 / 4 oz servings

2 / 4 oz Chicken Breasts
1.5 tb Cashew Butter
1.5 tb Tahini
1 tb Extra Virgin Olive Oil
1 tb Lemon Juice
1 tsp Agave
1 tsp Bragg’s Liquid Aminos
1 tsp Rice Wine Vinegar
Optional:  Raita (recipe below), Toasted Cashews, Chopped Cilantro, Baby Spinach

-          Combine all ingredients (except the chicken) and blend well.  Coat the chicken evenly and marinate for at least 2 hours or up to 4.
-          When ready to cook the chicken, preheat the oven to 375.  Remove the chicken from refrigeration to take the chill off while the oven heats.
-          Place the marinated chicken in a baking dish lined with foil and bake for 14 – 18 minutes or until the internal temperature reaches 165.
-          Serve immediately garnished with Toasted Cashews, Chopped Cilantro and Raita if desired; I recommend both!  I served my on a bed of baby spinach to add a healthy touch to the dish as well.  If you put the hot chicken right onto the spinach it will wilt it slightly which adds a pleasant texture difference!

Curry Roasted Cauliflower Soup
Yield 6 Small or 4 Large Servings

2# Cauliflower, cut into large florets (approximately 1.5 heads)
9 oz Onion, yellow, cut into large chunks (approximately ¾ of a large onion)
1 oz Garlic Cloves, crushed (approximately 8 medium cloves)
½ c Extra Virgin Olive Oil
3 tb Curry Powder
1 tb Kosher Salt
3 c Vegetable Broth
3 c Water
1 tb Lime Juice
1 tsp Bragg’s Liquid Aminos
Optional: Raita (recipe below) and Chopped Cilantro

-          Preheat the oven to 425.
-          Blend together the olive oil, curry powder and salt.  Pour the mixture over the cauliflower florets, onions and garlic and toss to coat evenly.
-          Place the cauliflower, onions and garlic on a foil lined tray and try your best to get the onions and garlic underneath the florets so they don’t burn.  Place the water and vegetable broth in a large stock pot and bring to a low simmer while the vegetables cook; turn off the liquid before it reaches a rolling boil. 
-          Bake the vegetables for 40 – 55 minutes until the cauliflower starts to char.  If you see any onions pieces or garlic that got black and hard, discard them before adding them to the liquid.
-          Add the vegetables to the hot broth a blend, preferably using a hand emersion blender.  If you do not have one, blend the mixture in a batches using a food processor or blender and return to the pot once pureed completely.
-          Add the liquid aminos and lime juice and heat over low heat until the soup is hot again and to let the flavors meld together.
-          Garnish the soup with cilantro and raita to taste.  The soup is delicious on its own but I highly recommend the garnishes to take the flavor to another level!

Raita
Yield 4 – 5 2 / 3 oz servings

¾ c Plain Honey Yogurt (I recommend Nancy’s brand)
1/3 c Cucumber, small dice with seeds removed
1/3 c Tomato, small dice with seeds removed
1/3 c Red Onion, small dice
1 tb Cilantro, finely chopped
1 tb Lemon Juice
½ tsp Kosher Salt

-          Combine all ingredients in a large bowl and stir to blend.
-          The raita is best eaten a few hours after it is prepared but is good for 2 to 3 days stored in an airtight container, properly refrigerated.

Up next…
Greek Style “Fu-ttata” served with a Cucumber Spinach Salad


Friday, December 27, 2013

Japanese Curry with Tofu & Vegetables over Basmati Rice


Green Girl Goodies December 2013

Winter is upon us and the cold weather means it’s time to break out the hearty soups, stews, chilis and curries.  This particular curry holds a special place in my heart as I grew up eating it as a child.  I usually try to avoid pre-made sauces etc. but this Japanese curry is a favorite of mine I just can’t give up.  Sadly it does contain MSG but I stick to my belief that moderation is key and frankly if we avoided everything that contained chemicals these days it would be hard to find much to eat.  Don’t get me wrong, I still encourage avoiding processed foods, but for me this curry is worth the risk!

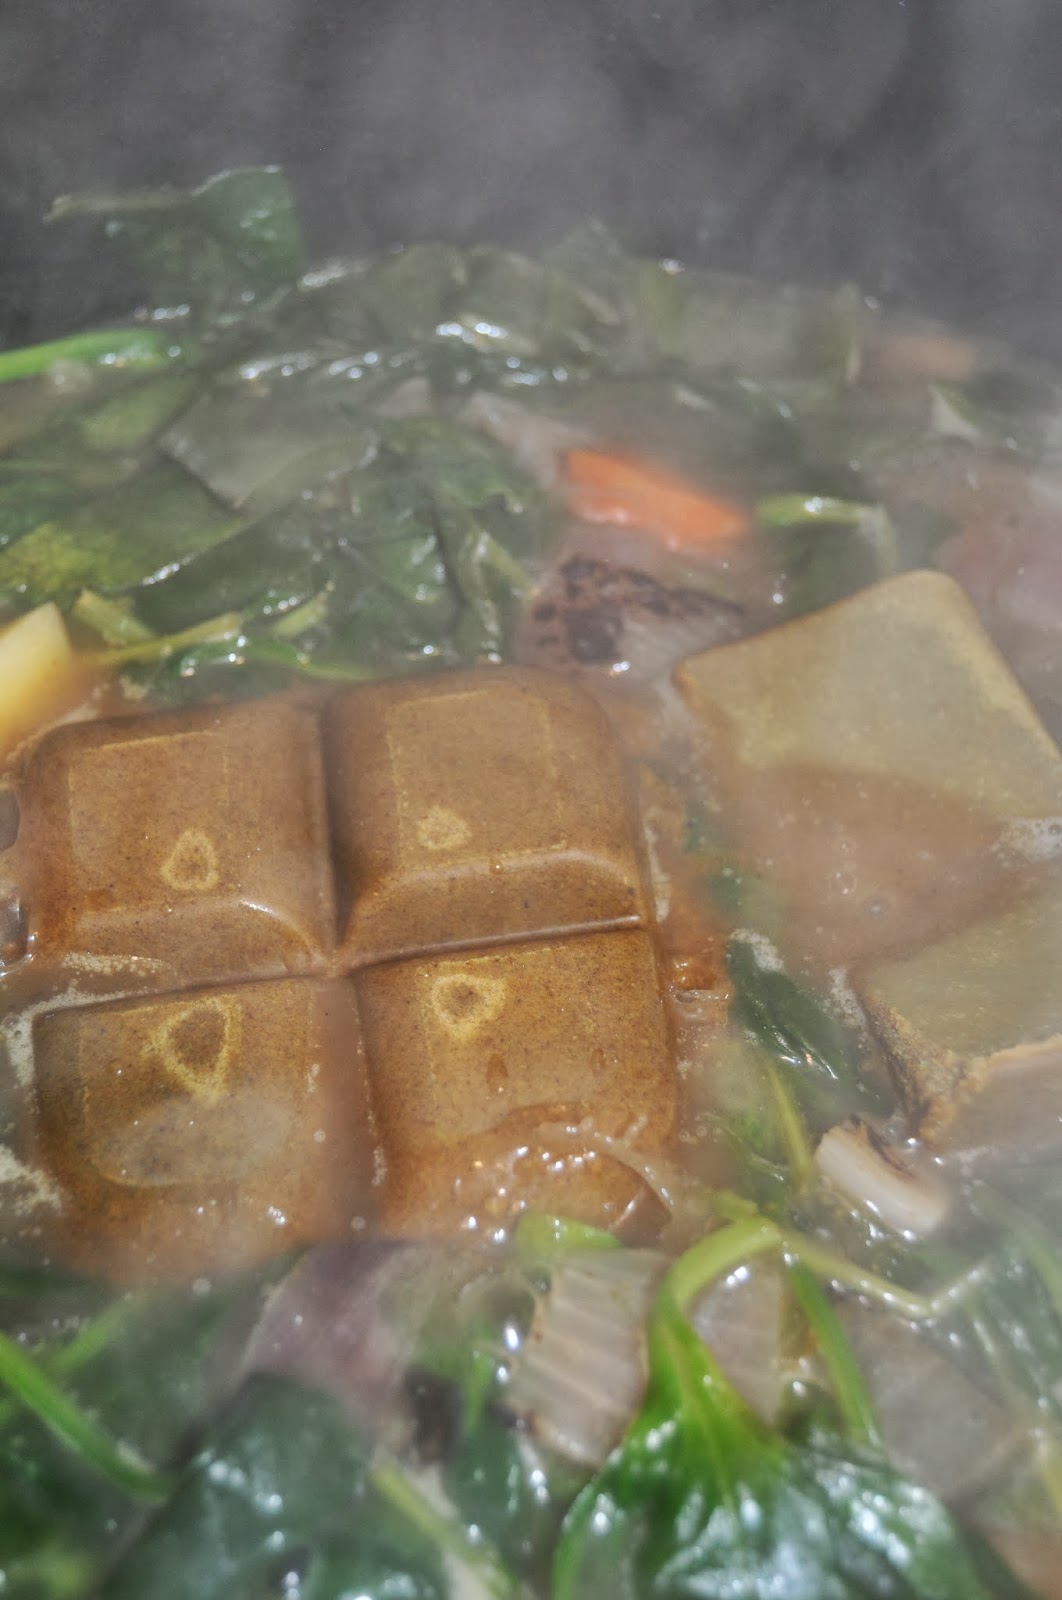
Similar to all curries my favorite brand, Golden Curry, comes in Mild, Medium and Hot.  You can find it in the Asian aisle in most grocery stores these days.  I generally go with the Mild or Medium but the hot is delicious as well.  The seasoning block is compatible with a number of proteins, vegetables and grains and is as easy as stewing your choice of items, adding water, seasoning paste and letting it all simmer and marry into the amazing final product.   

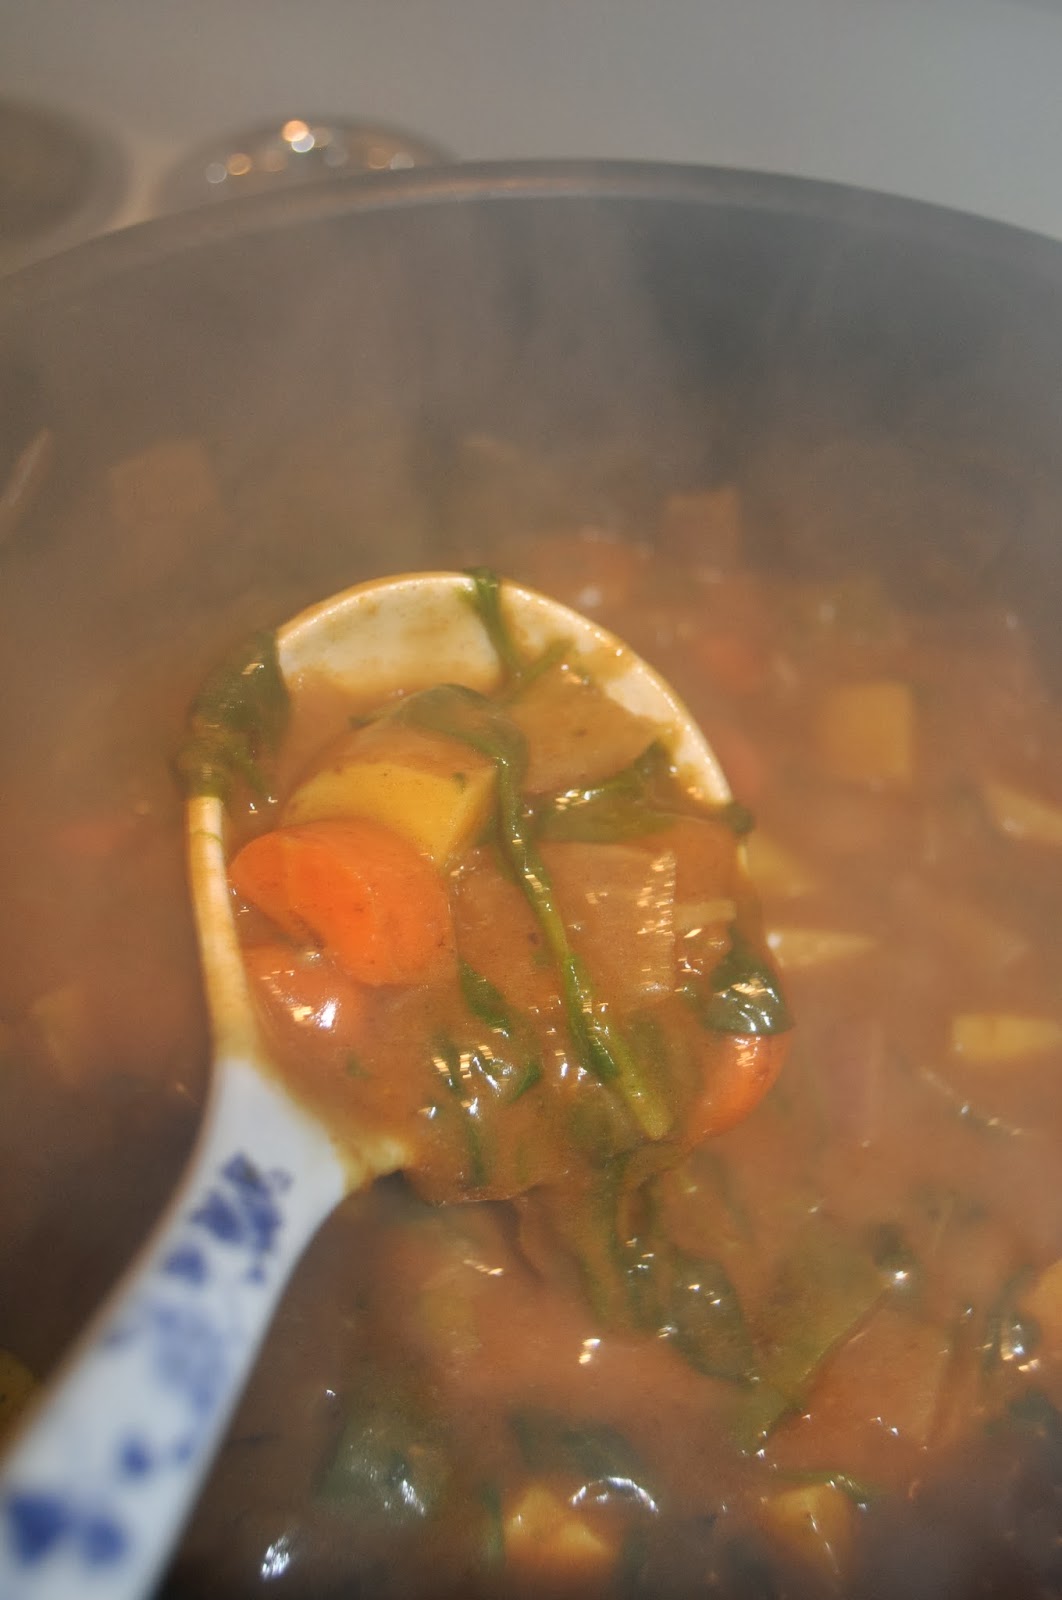
For this particular go-around I decided to stick with the classic Japanese vegetable choice of Green Bells, Carrots, Onions and Potatoes.  For my protein, I picked Tofu.  If you chose a meat protein I recommend getting a nice hot pan and searing the meat first for added flavor but I didn’t have extra firm tofu so chose to add it as the last ingredient so it would hold its shape.  I served the curry over Basmati rice and it was perfect for warming the belly on a chilly winter evening.  Enjoy!

Yield 6 – 8 Servings


3 c Potatoes, medium dice
2 c Red Onion, large ½” dice
1 ¼ c Carrots, half moons
1 heaping c Green Bell Peppers, large ½” dice


5 c Spinach, hand torn
6 oz Tofu, cut into ½” cubes


Curry Block
4 c Water
2 tb Vegetable Oil
Rice or Noodles of Your Choice

-          Heat a large stock pot and add oil.  Once the oil is hot, add the vegetables and brown over medium high heat for 3 – 5 minutes. 


-     Add the water, seasoning blocks and spinach and bring it to a slow simmer, stirring occasionally to dissolve the seasoning block. 


-          Once the sauce and vegetables reach a simmer and begin to thicken slightly, reduce to medium high heat and add the tofu.  Stir well to incorporate the tofu and serve over your grain of choice.


Up Next…
Homemade Inari Sushi (Inarizushi)


Tuesday, August 14, 2012

Spicy Tapatio Tuna Salad Wrap


Green Girl Goodies, August 2012

Those who have known me for a long time are probably very surprised to see a canned tuna recipe posted on my blog.  Ever since I can remember, I have felt very strongly about the stuff:  it smells and tastes like what I feed my cats.  Always sure I didn’t want to eat cat food, I have always avoided canned tuna, especially in the form of the always popular tuna salad.  I believe in giving things another try and when I made this version of tuna salad for my boyfriend I was shocked when I tasted it.  Not only was it edible, but it was enjoyable as well!  I wouldn’t go as far as to say tuna is my new favorite food but I will be working it into my eating routine a bit more.  I pick the tuna packed in water to avoid the extra fat!

Yield 2 large or 4 mini wraps/sandwiches (approximately 1 ½ cups)


1 5 oz can Tuna in water, drained
¼ c Celery, small dice


3 tb Red Pepper, small dice


3 tb Yellow Onion, small dice
1 tsp Jalapeno, minced


1 tb Mayonnaise
1 tsp Dijon Mustard
½ tsp Tapatio
½ tsp Lemon Juice
1 pinch Kosher Salt
6 turns Freshly Cracked Black Pepper

-     Drain the tuna well and mix all the ingredients together in a large bowl.

 
-     Let stand at least an hour to let the flavors combine.  The tuna salad with hold up to 4 days properly refrigerated.


FOR THE WRAPS:
 
2 8” Flour Tortillas
½ c Romaine Lettuce, shred
¼ c Spinach
4 ea Tomato Slices
Kosher Salt
Freshly Ground Black Pepper


-     Place a large saute pan over medium heat and place the tortilla inside, warming it slightly and making it more malleable.


-     Place the warmed tortilla on a plate and evenly distribute the spinach and lettuce over the center of the tortilla.


-     Place a layer of tuna salad over the lettuce.


-     Place tomato slices over the tuna salad.


-     Season the tomato slices with a pinch of salt and a pepper to your taste.


-    Fold the left and right ends in towards the center and roll up the tortilla as tightly as you can.  Pictured below is one large and one mini wrap:


Up Next…
Sweet Chile Lime and Apple Slaw


Sunday, August 5, 2012

Sunday Smoothies: Mixed Berry-Cran-Pomegranate with Spinach and Tofu


Green Girl Goodies, August 2012

I am almost done with my 10 day cleanse and feel great!  I lost just over 3 pounds and have more energy than ever.  In order to more closely monitor my nutrient intake and make sure I stayed safe and healthy while doing the cleanse, I began tracking some of the basic nutrition information for my smoothies.  In this post and all future “Sunday Smoothies”  look for your basic nutrition information following the recipe!

Yield 1 large 24 oz serving or 2 small 12 oz servings


½ block Tofu, preferably Mori-Nu Silken Tofu “Firm”
1 c Mixed Berries, frozen
1 c Spinach, tightly packed
1 ½ c Cranberry Pomegranate Juice
1 tb Agave
1 tb Chia Seed

-     Place the berries, spinach and juice into the blender.


-     Add the Agave, trying to pour mostly in the middle so it doesn’t stick to the sides of the blender.


-     Use your hands to break up the tofu as you place it into the blender.


-     Blend, scraping the sides occasionally to make sure ingredients blend evenly.


-     I tried something different this time and poured the chia seeds into the cup first, then added the smoothie.  I didn’t find this to make much of a difference but wanted to test just in case :)


-     Stir and enjoy!


Calories:  480
Fat:  7.5 g
Protein:  18 g or 36% D.V.*
Fiber:  21 g or 42% D.V.*

*Based on a 2,000 calorie diet

Next Sunday Smoothie:
Blueberry-Melon-Carrot with Spinach, Tofu and Soy Milk


Tuesday, July 31, 2012

Herb Marinated Swai baked with Heirloom Tomatoes served on a bed of Baby Spinach


Green Girl Goodies, July 2012

Heirloom tomatoes are another one of my favorite summer offerings.  They are so full of flavor and I usually prefer them raw to really savor the natural essence of the tomato.  Unfortunately, this time on our way back from the River Market one of our heirlooms somehow got a tiny puncture.  We didn’t notice right away and it began to lose some juice.  As soon as I saw this, I began looking around the refrigerator and freezer for something to pair with the partially deflated tomato and came across the Swai.  Swai is a farmed river cat fish from Asia.  It is a delicate white fish, similar to U.S. catfish that is slightly more buttery but with a less earthy, more mild taste.  It does have a low mercury content but if eaten no more than once a week it is not harmful and is considered a “Good Alternative” by the Monterey Bay Aquarium Seafood Watch.   If you cannot find Swai, look for Basa (another name for this Asian catfish) or just plain old catfish.  I wanted a light meal so I served the simple herb-marinated fish over a bed of spinach.  It would also be delicious with roasted potatoes, pasta, grilled vegetables…you name it!


Garlic and Herb Fish Marinade
Yield approximately ½ c or enough for  8 – 10 oz of fish


4 ea Garlic Cloves, peeled and crushed
¼ ea Yellow Onion (small), roughly chopped
3 tb Extra Virgin Olive Oil
¾ tb Oregano leaves, dried
1 tsp Thyme, dried and ground
1 ¼ tsp Kosher Salt
20 turns Freshly Ground Black Pepper

-     Place the garlic cloves and onion into a food processor and blend until minced.


-     Add the oil and seasonings and blend well.


-     Pour the marinade over the fish and use your hands to cover all sides of the fish.


-     Let the fish sit in the marinade for at least 2 hours and up to a day.


Tomato Topping:


1 ea Heirloom Tomato (medium), large dice
¼ ea Yellow Onion (small), large dice
7 turns Freshly Ground Black Pepper


-     Preheat the oven to 350.  Place the marinated fish into a baking dish and top with the tomatoes, onions and pepper.


-     Place the pan in the oven and cook for approximately 15 to 20 minutes (depending on the thickness of your fish), rotating the pan halfway thru the cooking process.  The fish will be done when firm to the touch.


Place your spinach on a plate and top with the baked fish.


Up Next…
Spicy Dijon Strip Steak served with Avocado Mashed Potatoes and Sautéed Asparagus