Below you will find recipes for Basic Grilled Vegetables and Basic Balsamic Pasta Salad. Here I use Quinoa Pasta for the pasta salad but regular or wheat pasta can be used as well.
Yield for both recipes combined is approximately 3 ½ quarts
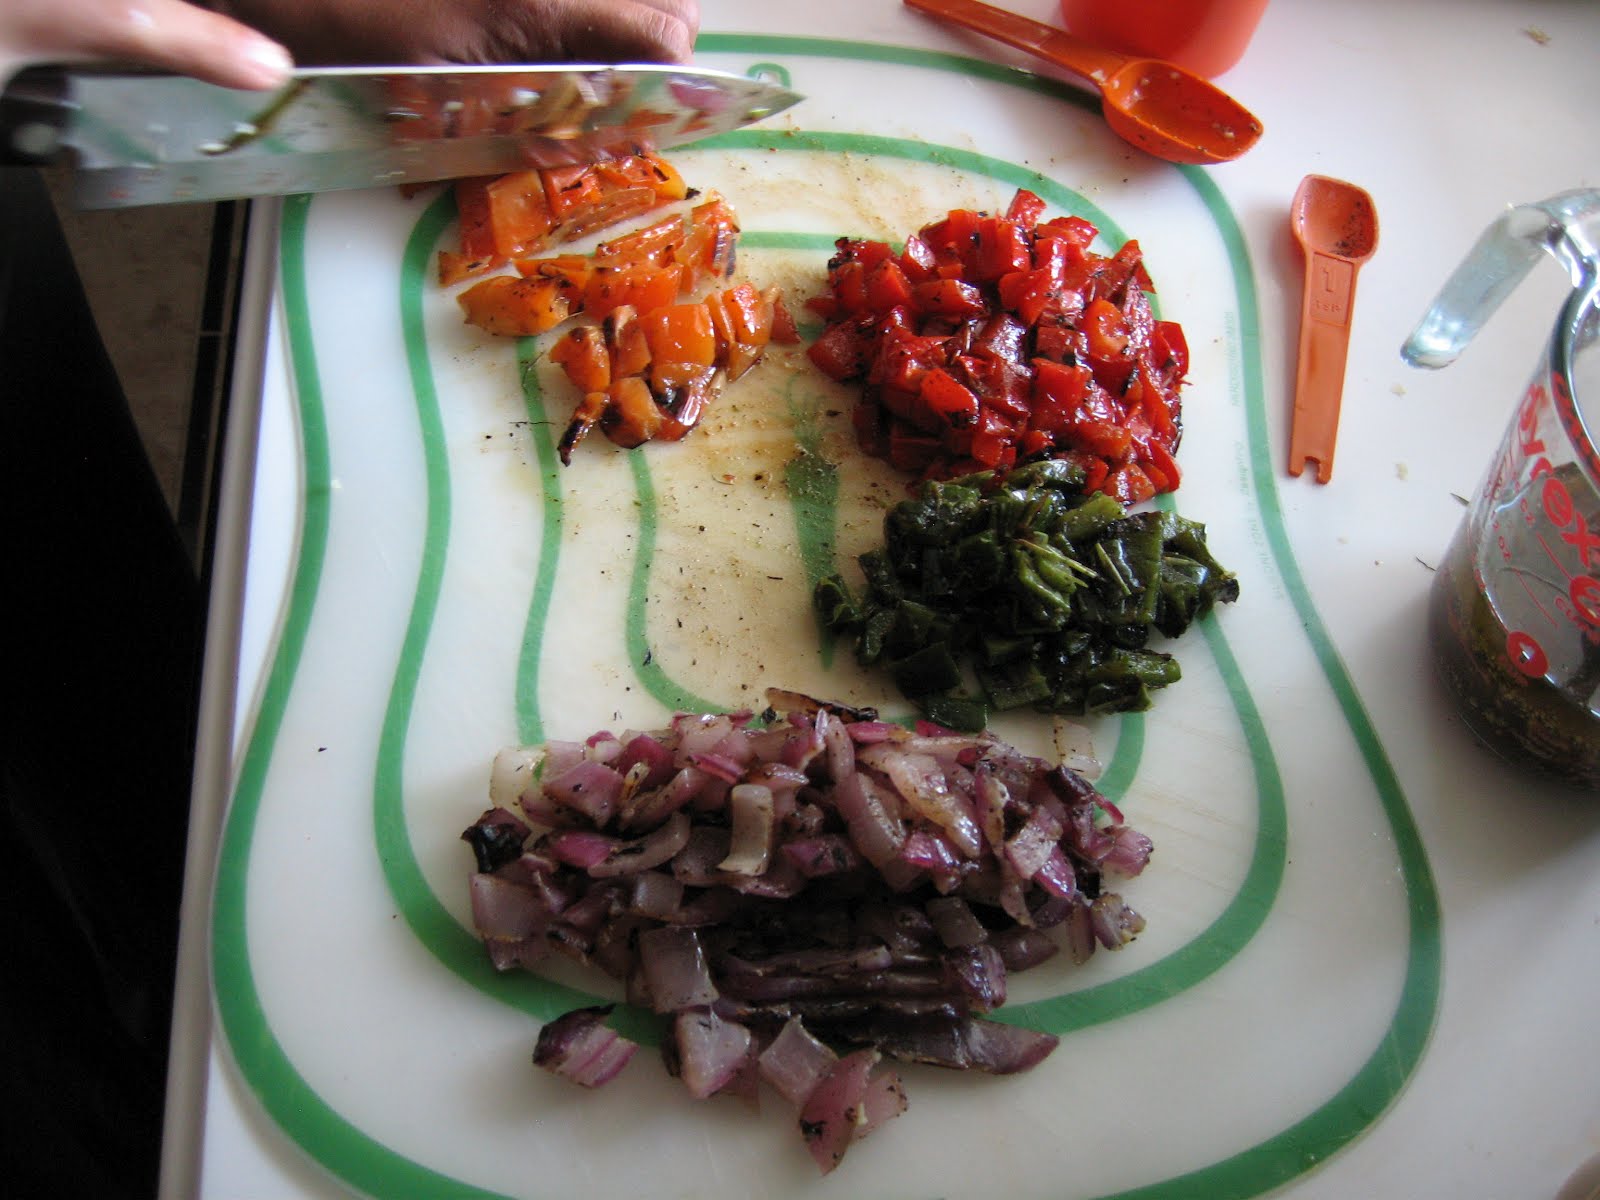
Basic Grilled Vegetables
1 med Red Onion, sliced in ½” rings for grilling then ½” diced
1 med Red Pepper, sliced in big pieces for grilling then ½” diced
2 med Orange Peppers, sliced in big pieces for grilling then ½” diced
1 med Poblano, sliced in big pieces for grilling then ½” diced
2 ea Corn, grilled and removed from the cob
½ c Extra Virgin Olive Oil
1 tsp Sea Salt
1 tsp Fresh Ground Black Pepper
1 tsp Garlic Powder
- Preheat your grill to medium high heat.
- Combine oil, salt, pepper and garlic powder in a large bowl.

- Coat all vegetables except the corn with the oil mixture.

- Place well coated vegetables on a plate to allow any excess oil to come off before grilling and start the corn.

- Cook the corn over the hot center of the grill until the husks begin to blacken.

- Flip the corn and add your vegetables to the grill. Reserve the leftover oil mixture for the salad.

- Rotate and flip the vegetables as needed, keeping in mind where the hot spots are located on your grill.


- You want a light char on the peppers (the skin will begin to blister) and dark grill marks on the onions. The vegetables will be half cooked and still have a bite to them.


- Cooking times are approximately:
o 2 - 3 minutes a side for the peppers
o 3 – 4 minutes a side for the onions
o 5 – 6 minutes a side for the corn.
- Set the vegetables aside to cool completely while you prepare the rest of the salad. Once they are cooled, remove the corn from the cob and cut the remaining vegetables into a ½’ dice.


Basic Balsamic Pasta Salad
2 8 oz Boxes Quinoa Pasta Shells

- Cook the pasta according to package directions.
- Drain into a colander. Add ½ c ice and run under cold water to cool quickly. Mix gently until the ice is melted.

- Once cooled completely, shake the colander to remove any excess water.
- Pour the pasta into a large bowl and add the reserved oil marinade used on the grilled vegetables to prevent the pasta from sticking and mix gently. If you are preparing the salad without the vegetables and have no oil mixture add:
2 tb Extra Virgin Olive Oil
1/2 tsp Sea Salt
1/2 tsp Fresh Ground Black Pepper
1/2 tsp Garlic Powder

2 12 oz bags Cherry Tomatoes, quartered

¾ c Basil, chiffonade


FOR THE DRESSING:

½ c Extra Virgin Olive Oil
5 tb Balsamic Vinegar
1 ½ tsp Dijon Mustard
1 tb Lemon Juice
2 tsp Sea Salt
1 tsp Freshly Ground Black Pepper
2 tb Honey (I used Wild Blackberry Honey but regular works too)

2 ½ tb Garlic, crushed and minced

- Combine all ingredients except for the oil. Slowly drizzle in the oil, stirring constantly to emulsify. Set aside until ready to use.
- Add cherry tomatoes to the cooled pasta and drizzle with dressing.


- Add grilled vegetables.


- Stir gently to mix items and let sit for at least an hour to let flavors combine. Garnish with basil and serve chilled. The salad can be kept properly refrigerated for 3 to 5 days and is best if you cut and add the basil fresh each time just before serving.

*Chiffonade - A cooking technique in which herbs or leafy green vegetables are cut into long, thin strips. This is best accomplished by stacking leaves, rolling them tightly, then cutting across the rolled leaves with a sharp knife, producing fine ribbons. The key is to minimize the number of cuts as leafy greens and herbs bruise easily, resulting in browning quickly.
Up Next…
Home Made Energy Bars


